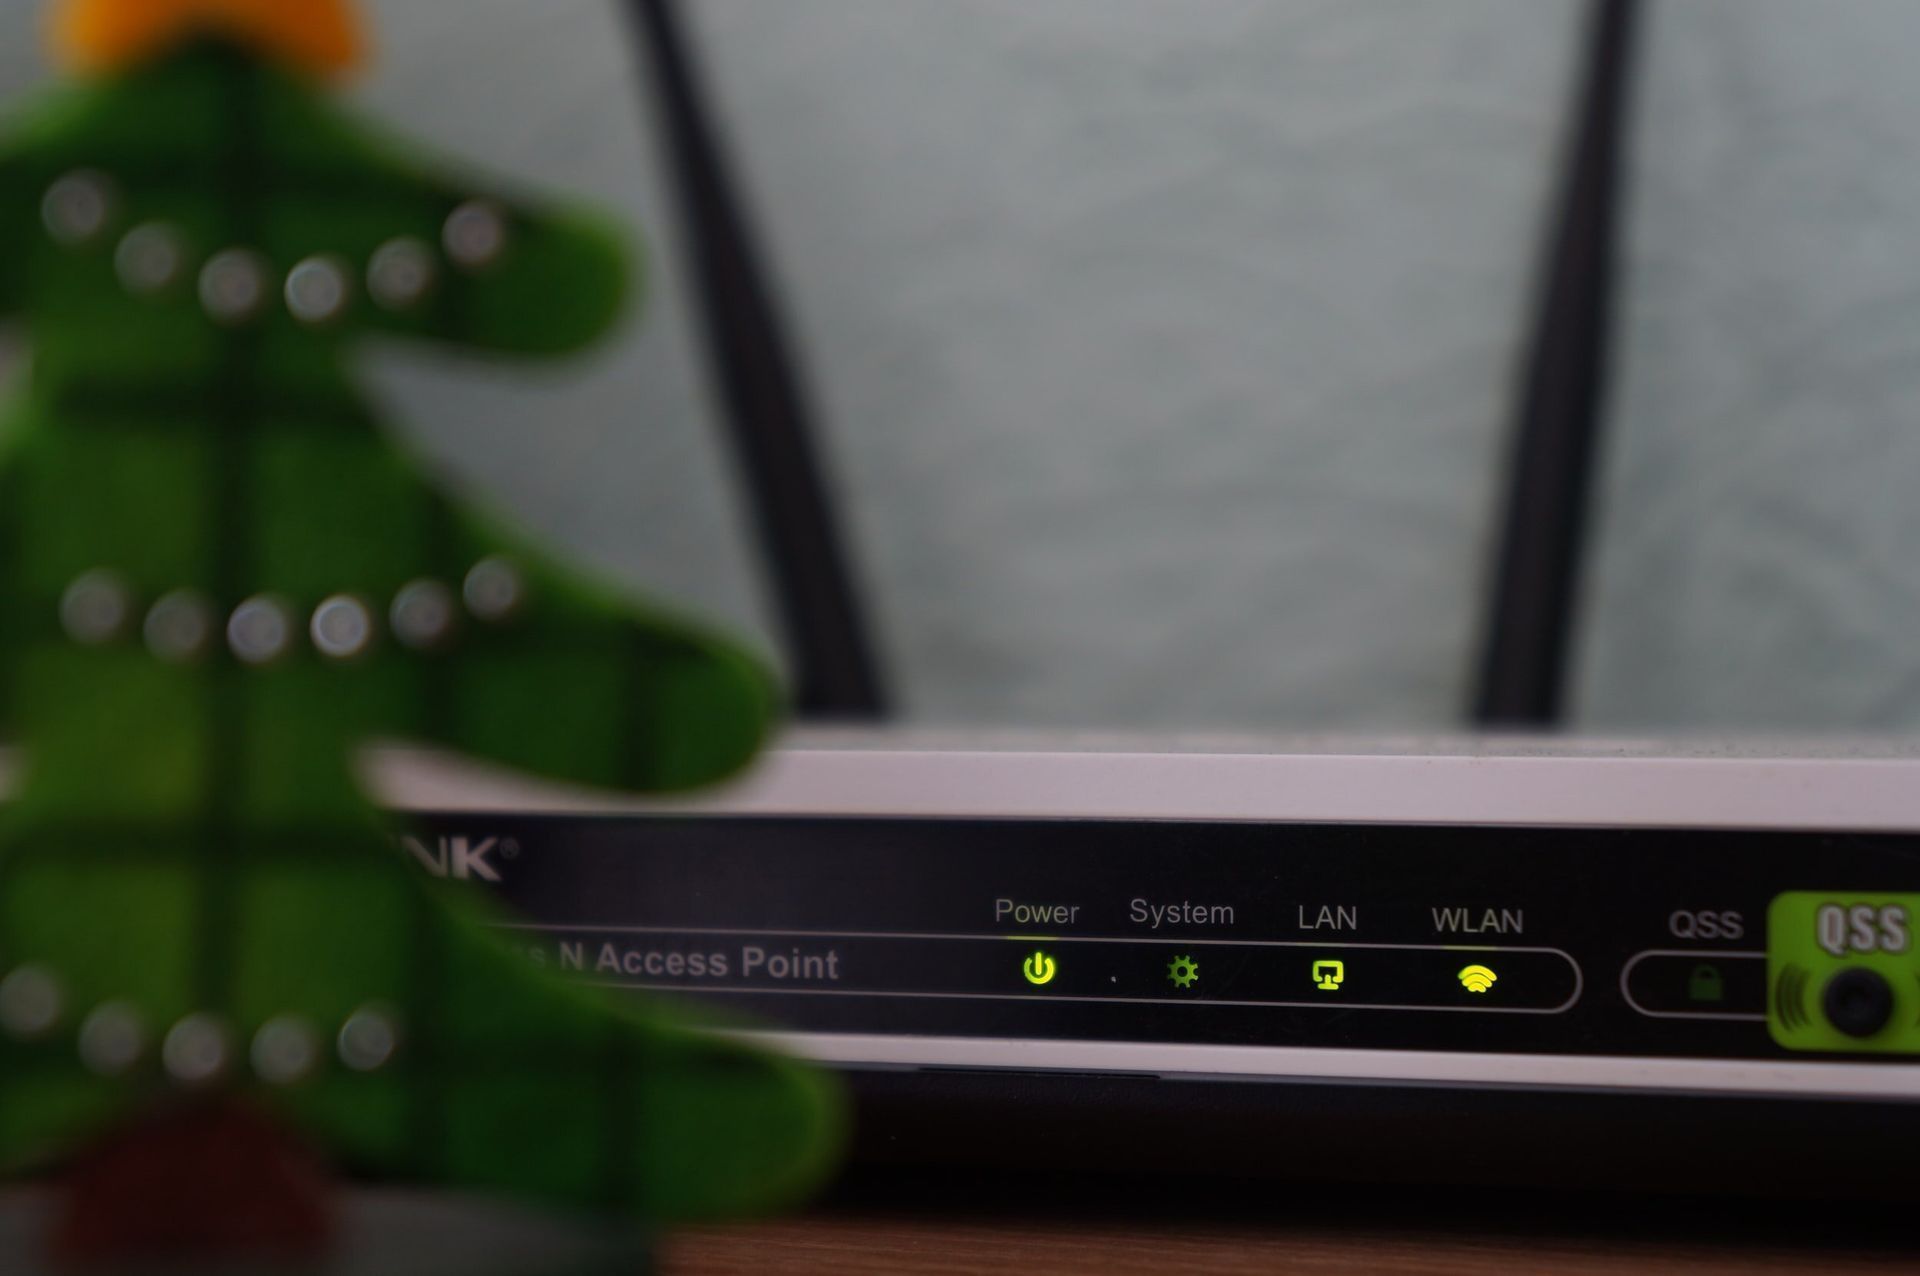
WIFI Channelization
One of the most common problems with consumer grade home networks is network channel overlap.
Tip 2: WiFi Channelization
CHANNELIZATION 101
Your Wi-Fi is a lot like your radio or TV. It operates over radio waves that are segregated into channels. When two different “radios” are broadcasting on the same channel they create massive interference, similar to what happens when your car’s radio picks up two different stations at the same time – all you hear is overlapping noise.
Most consumer grade home network routers come out of the box broadcasting on the same channel. This means your neighbor’s router is on the same channel as your router and your other neighbor’s router.
Neighbors 1, 2 and 3 have individual routers, yet each are on the same channel (36)
Neighbors 1, 2 and 3 are all on the same channel (36) yet Neighbor 1 is experiencing a much weaker signal
Having everyone on the same channel causes interference (noise) and disrupts everyone’s Wi-Fi experience. This may explain why your Wi-Fi signal is weak, unstable, slow, frozen or dropping devices.
Before you knock on your neighbor’s door to change their channel – let’s try our first Wi-Fi troubleshooting tip – channelization.
Channelization 101
Your Wi-Fi is a lot like your radio or TV. It operates over radio waves that are segregated into channels. When two different “radios” are broadcasting on the same channel they create massive interference, similar to what happens when your car’s radio picks up two different stations at the same time – all you hear is overlapping noise.
Most consumer grade home network routers come out of the box broadcasting on the same channel. This means your neighbor’s router is on the same channel as your router and your other neighbor’s router.
Channelization is the process to adjust your router so that it has its own clean channel.
Step 1:
We begin with the SSID, the Service Set Identifier, which refers to the name of your Wi-Fi network. Wi-Fi network names vary from some kitschy phrases (HappyFeet) to more tech-savvy strings of characters (M91323SAOG(*&#*…).
Start by making a basic SSID scan of all networks seen by your computer or phone.
Here’s a list of networks near a particular home:
- An SSID list can tell you a lot. Here are a few things you might notice:
- Whoa, there are a lot of networks (and what the heck is a KodaBunny?)!
- XFINITY appears on every SSID list – it is a parasitic public hotspot.
- Printers, office speakers, and a smart plug – these are all considered Rogue APs. Rogue APs are wireless polluters. (You might have a Rogue AP, and if you do, please refer to the printer/speaker/etc manufacturer’s instructions on how to properly join them to your Wi-Fi network.)
Step 2
For the next step you will need a Wi-Fi scanning utility which you can the following for free.
Wi-Fi Explorer Lite works well for both PC and Mac users. WiFi Analyzer and WiFiMan are both great options for Android users. iPhone users – try these options.
On whatever app you choose, navigate to the section that shows channels; it should look something like this:
Note that the network !My SSID!, Neighbor 1’s SSID and Neighbor 2’s SSID are clustered around Channels 36-48. There is a wide gulf of unused airspace between Channels 52-128. Locate your SSID in the list to determine the channel that it’s using. The network !My SSID!, is centered around channel 40.
You may notice that some SSIDs are wider on the graph than others. This has to do with channel width. The goal is to use the widest channel possible without overlapping another access point. If you want more technical info now, find our Channel Width blog here (insert link).
Step 3
Next change the wireless channel of your radio. This method differs based upon the make and model of your equipment so consult your manufacturer for the exact steps. Online forums are a great resource; try Googling the phrase “(make and model of your router) change wireless channel”.
Step 3A. Start by identifying your router/network. Here is an example from the Unifi Controller made by Ubiquiti.
Step 3B. Change the channel of !MySSID! 64.
Step 3C. Voila! !MySSID! has successfully moved to Channel 64 and all are enjoying improved performance except for Neighbor 1 and Neighbor 2 who are duking it out for the same airspace on Channels 36-40.)
But…there is hope, grasshopper.
Step 3D: NOW it’s time to knock on your neighbor’s door! Share what tips you’ve learned here, and encourage them to change their channels.
Here’s what channelization could look like if we work with our neighbors.
Neighbor 1 has moved to channel 165 and reduced his channel width to eliminate interference.
Neighbor 2 has reduced their channel width as well and remains near Channel 36-40.
With these adjustments we’ll all experience improvements in the speed and reliability of our networks. The best part is, we did it all without spending a dollar on new equipment!
Your Wi-Fi performance can improve by changing only your channel. However, by working with your neighbors you can make an even bigger difference. With this in mind, consider it your civic duty to reduce interference in your neighborhood.
Confetti!